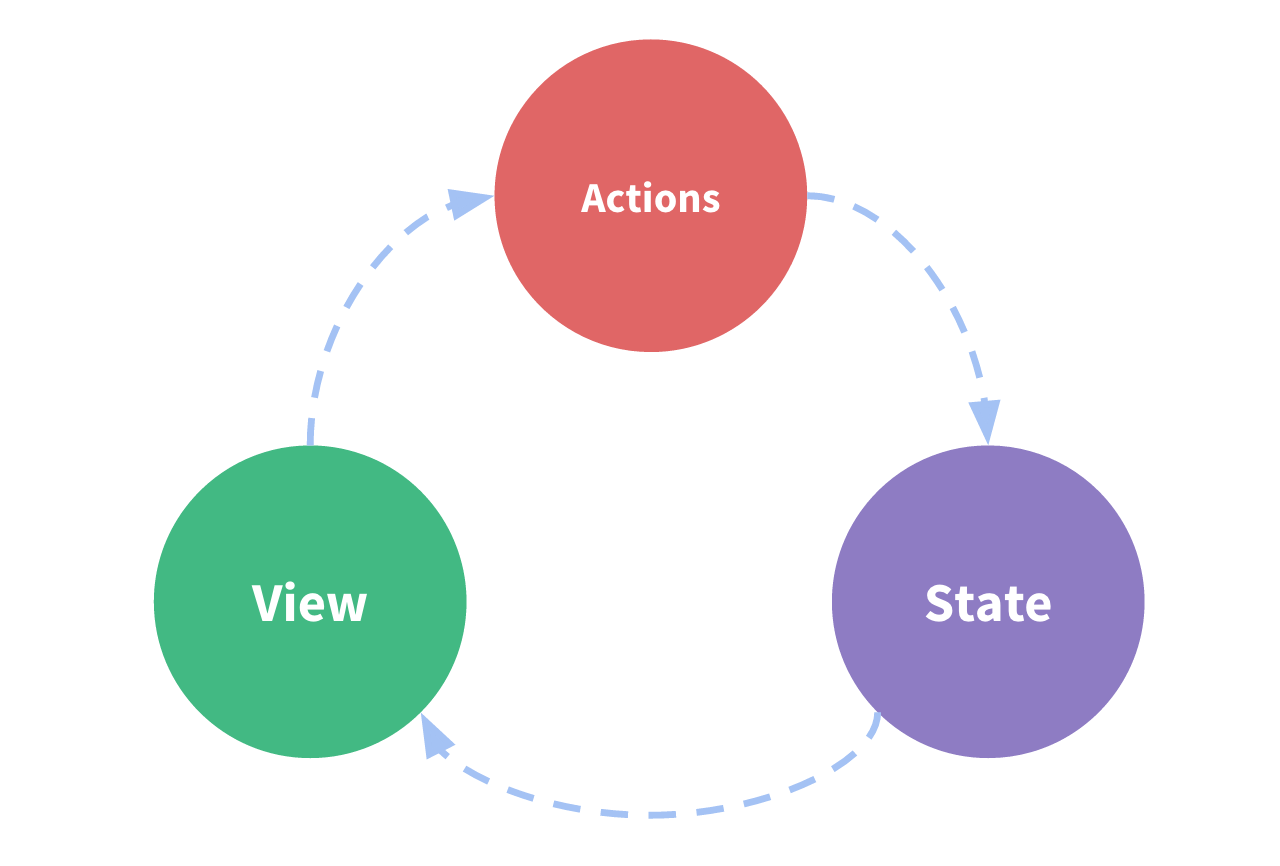
What is Redux?
Redux is a state management library, it is often used with react, it manages state just like useState in react. When we have too many states in our react application it becomes hectic to manage all those states with useState inside a component. Therefore we use Redux which just makes it easy to manage all those states at a single point outside the component which can be made accessible to another component.

What is the Redux toolkit?
We can consider the redux toolkit as the modified version of Redux, which does the same job as redux but it removes the unnecessary or boilerplate code for our states thus making it short and easily understandable.
Redux toolkit over Redux
We should now use the Redux toolkit as it's suggested by the official website of redux because it removes the boilerplate code and makes it easy to understand the state management as before.
To get started first we need our initial state which we want to change on some event with the help of the reducer function which executes when we dispatch our actions.
For the analogy of the above statement
initial state - you told the vendor that you are hungry.
action - here it can be you need some apple juice
reducer function - apple juice is made and served to you thus making you feel good thus changing your initial state from hungry to full
dispatch - here it can be the vendor dispatches the apple into the machine to process the food as per the juicer mixer.
How to install the redux toolkit?
// using npm
npm install @reduxjs/toolkit

// using yarn
yarn add @reduxjs/toolkit
Let's take an example of the user logging in with their email and password to the form and you have to change the initial state from empty to what the user filled into the form.
Below is just a basic React functional component showing form.
    <form>
      <label for="email">Email:</label>
      <input type="email" id="email" name="email" className="user-email" />

      <label for="password">Password:</label>
      <input type="password" id="password" name="password" className="user-password" />

      <input type="submit" value="Submit" />
    </form>
Before writing some js code we need to learn about createSlice, configureStore, payload.
createSlice()
It allows you to create a slice of state, along with actions and reducers for that state, in a concise and organized way.
Basic syntax of createSlice() -
// imports the function from toolkit
import { createSlice } from "@reduxjs/toolkit";

const counter = createSlice({
    // specifies name of slice
    name : "count",

    // mention initial state can be value, object, array
    initialState : [],

    // inside reducers we specify our all reducers function
    reducers : {
       f1 (initialState, action) {},
       f2 (initialState, action) {},
    }
})
configureStore()
configureStore is a utility function provided by the Redux Toolkit library that makes it easier to set up a Redux store in your application. It is just similar to createStore in redux.
// importing functions from redux toolkit
import { configureStore } from "@reduxjs/toolkit";

// inside reducer we pass our different slices
const store = configureStore({
  reducer: {
    counter: counter
  }
});
When more than one slice is passed reducer function as a combineReducer like it used to be in redux. We don't need to worry about how different reducer functions or slices will combine, reducer will take care of that.
payload
The payload is a property in an action object that contains the data being passed from the action to the store.
Coming back to our form example -
import { createSlice, configureStore } from "@reduxjs/toolkit";

export const initialState = {
    email : "",
    password : "",
}

export const form = createSlice({
    name : "form",
    initialState : initialState,
    reducers : {
        email : (initialState, e)=> {
            return {...initialState,email : e.payload}
        },
        password : (initialState, p)=> {
            return {...initialState, password : p.payload}
        },
        submit : (initialState, s)=> {
            console.log(initialState);
        }
    }
})
export const {email, password, submit} = form.actions;

// creating store
export const store = configureStore({
    reducer : {
        form : form.reducer,
    }
})
Updated react component
import "./styles.css";
import { useDispatch } from "react-redux";
import { email, password, submit } from "./reducer.js";

export default function App() {
  const dispatch = useDispatch();

  return (
    <div className="">
      <form>
        <label>Email:</label>
        <input
          type="email"
          id="email"
          name="email"
          className="user-email"
          onChange={(e) => {
            dispatch(email({ type: "form/email", payload: e.target.value }));
          }}
        />

        <label>Password:</label>
        <input
          type="password"
          id="password"
          name="password"
          className="user-password"
          onChange={(e) => {
            dispatch(
              password({ type: "form/password", payload: e.target.value })
            );
          }}
        />

        <input
          type="submit"
          value="Submit"
          onClick={() => {
            dispatch(submit({ type: "form/submit", payload: "submitted" }));
          }}
        />
      </form>
    </div>
  );
}
Now, whenever a user click of submit button it will update the state we can analyze the state with the help of redux dev tools.
You can check the output and try yourself in your react app
Follow -
Follow me for more such content you can visit the series on my profile for more blogs. 😀
